Tile and Center Images on MDI Forms
Shown in this example is how to work with images and MDI Forms. To add an image
to the background of an MDI form you can use its Picture property. The image,
however, will not be centered on the form nor will it be tiled if it is smaller
than your form.
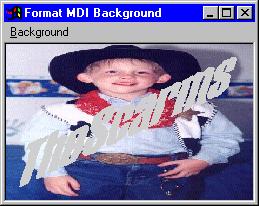
This sample shows how to tile an image across the form's background, stretch it
to fill the entire background or center an image on the background of an MDI
form. The image maintains its position when the form is resized as well. As
shown below, you can stretch an image to fill the entire background then
overlay a second image on top of the first.

Download Source Code
All of this is accomplished with a great deal of help from the Window's API. I
will depart from my usual practice of discussing the details here. Instead, I
am going to refer you to the code which is annotated and to my
Screensaver and Transparent Bitmap pages.
These pages use the same APIs as this example and provide detailed discussions.
Just to peek your curiosity, some of the APIs used are: Bitmap related - BitBlt,
StretchBlt, CreateBitmap, CreateCompatibleBitmap; Palette related -
CreateCompatibleDC, CreatePalette; Device Context related - GetDC, ReleaseDC,
SaveDC, RestoreDC, DeleteDC, GetSystemPaletteEntries, RealizePalette,
SelectPalette,....
Download this project and run the executable.
The sample includes an executable as well as source code. Run the executable and
select the various options from the menu to dynamically change the form's
background image. If you want, you can use your own bitmaps in the
resource file. To make the overlay bitmap transparent, it will need to have a
white background or you will have to set the Transparent Color value.
|